Gourd Craft Project
Here is a gourd project that has a few different elements to it that you might want or need to use in one of your creations.
When you order gourds from Martha's Gourds, you are getting dry, cleaned gourds that have any bug bites already filled for you. You don't have to worry about the mess or the time it takes to prepare for your project. Just get to work right away.
The gourds offered for sale are higher quality gourds. I save the gourds that need this much filler or have thin shells for my own use.
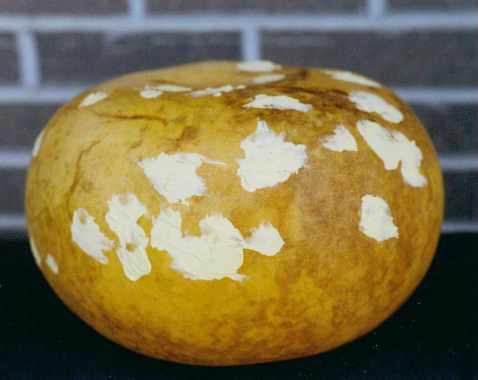
What everyone wants in a gourd is a thick shell and no holes or scars. That is not always the case. Many times after you have cleaned the gourd you will find it has some holes or indents in the shell. No don't throw it out. After cleaning this gourd I discovered some small holes around it. Simply take wood filler and fill in the holes, as you can see in this picture
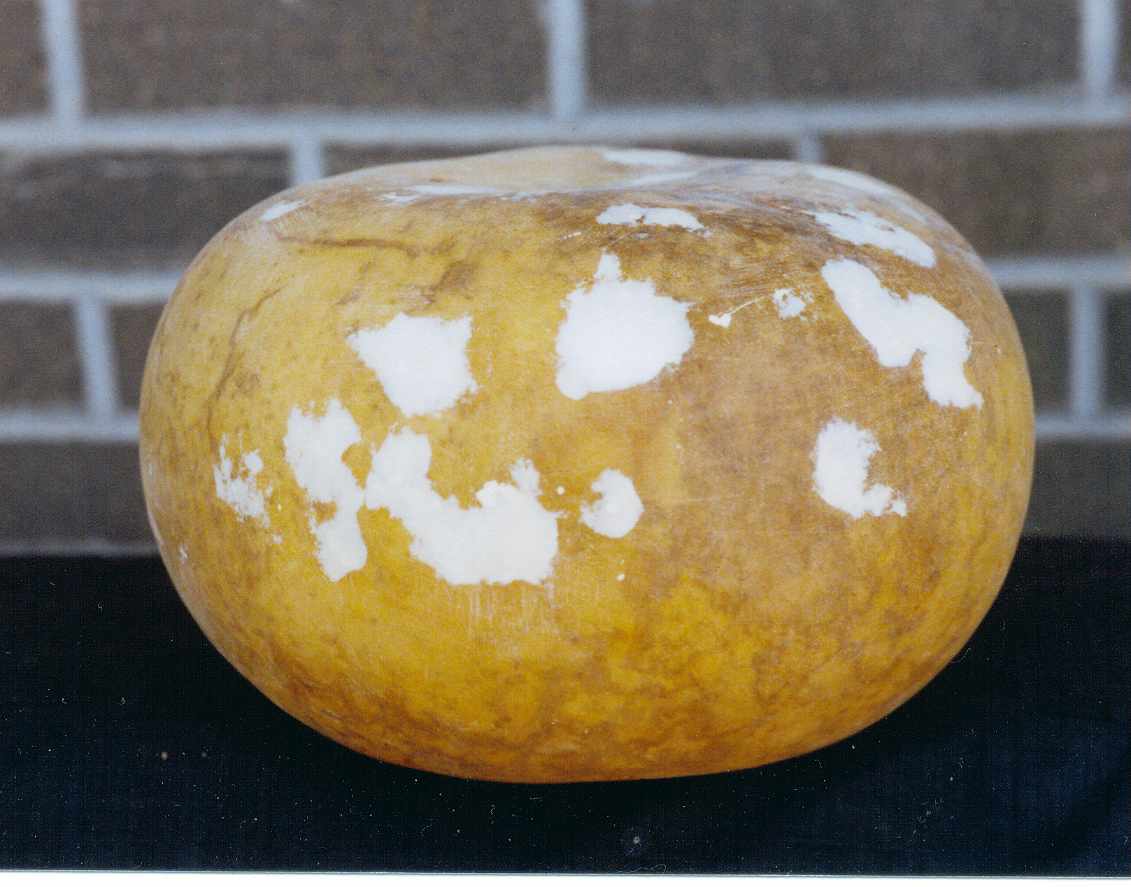
Let the filler dry and then sand it smooth. Start with coarse sandpaper and finish with fine grit for a nice smooth finish. Now it is ready for painting. This doesn't work if you were planning on staining or woodburning. If that's the case you'll have to find another gourd. But put a coat of paint on and no one will know anything about the holes. Unless you tell them.

I am using this gourd for a decorative bowl. Sometimes after cutting off the top you will discover the shell is a little thin. One way to help strengthen it is with a layer of paper glued to the inside. You can also do this on the outside if you weren't going to cut open the gourd. Brown paper bags work well for stiffening. This gourd is thick enough so I am just using a thin napkin for a decorative look to the inside.

If you are using a napkin you can separate the layers and use just a single layer. They seem to glue on a little easier that way. Tear the paper into small pieces. Take some white glue, (I used Mod Podge but you can use any white glue), and thin it a little with water. Take an old brush and spread a coat of glue on the inside of the gourd. Start in the center and work your way around to the top. Just put in a little at a time. Put in a piece of the napkin and just gently push it down with the brush. Make sure you overlap the paper as you go. Work your way up to the top. You can go over the edge or just stop at the edge. Let dry. If you like you can add another layer.
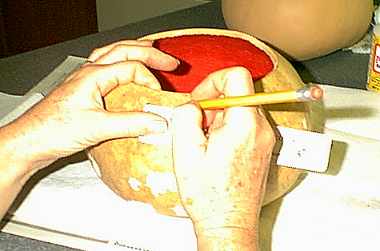
Now you need to mark where to drill holes for the laced rim. Mark down about 3/4" from top and 1" apart. For smaller bowls you would want to reduce these measurements a little. Use your own judgement. Drill holes on markings. Use a drill bit that will let you fit double your lacing material through. After your holes are drilled it is time to paint your design and seal it.


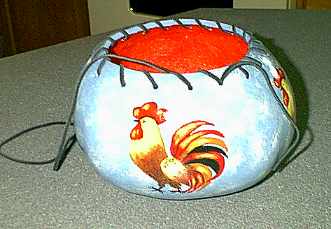
Here I have my painted and sealed gourd ready to lace. Start from the inside and go through first hole. Decide where you want your finishing elements to be. That is where you will start. Lace the whole way around until you are back to the start.
Then go back the other direction. I like to finish my ends with some beads to add a little extra flourish and it also gives you something to do with the ends. The bead had a large enough hole that I could fit both ends through. Then I tied a knot to keep the bead on.
The finished project is seen below.
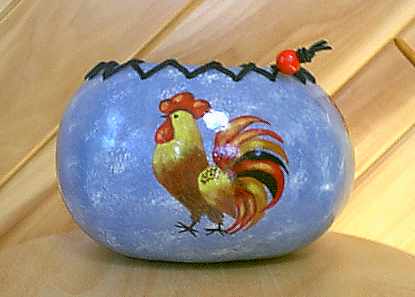
I have provided the basics, now you design your own gourd bowl.
If you need some help with designs for you projects, check out some of the copyright free design books I have picked out or try this list of books. Both sources are brought to you from Amazon.


